


This guide is about setting up Xdebug version 3. The steps are the same for older versions, but some of the parameters are different in the PHP configuration file.
So let's get started. First, download the Xdebug source from GitHub. Run the below command to clone the source code in any of your directory.
git clone https://github.com/xdebug/xdebug.git
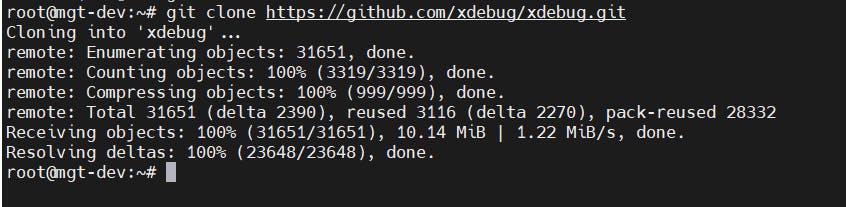
after the clone is completed I can see my folder here
 Go into the folder by using the command
 cd xdebug
and run the phpize.
If phpize is not in your path, please make sure that it is by expanding the PATH environment variable. Make sure you use the phpize that belongs to the PHP version that you want to use Xdebug with.
after completion of phpize command run ./configure --enable-xdebug then after run make and after make install.
after every command successfully completed, you can check the status of xdebug installation by using php -v
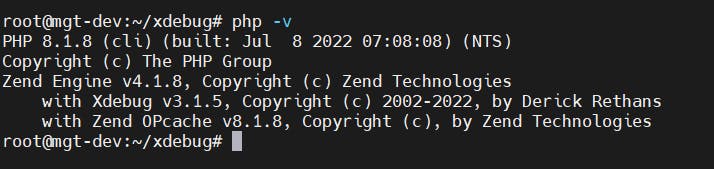
Hurray!! :)
Now, we will do some configuration in php.ini so our xdebug and PHPStrom can detect the request.
Open the php.ini file by using the command
vim /etc/php/8.1/cli/php.ini
and add the below parameters at end of the file.
zend_extension=xdebug.so
xdebug.mode=debug
xdebug.clinet_host=192.168.1.132
xdebug.idekey = PHPSTORM
xdebug.client_port=9003
xdebug.max_nesting_level=500
here is one important thing that is the clinet_host. I have used here the Public IP of my host computer.
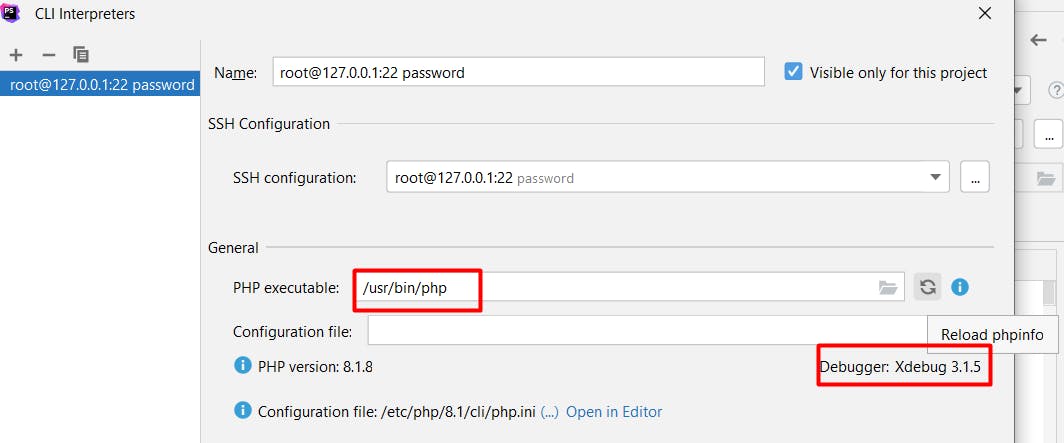
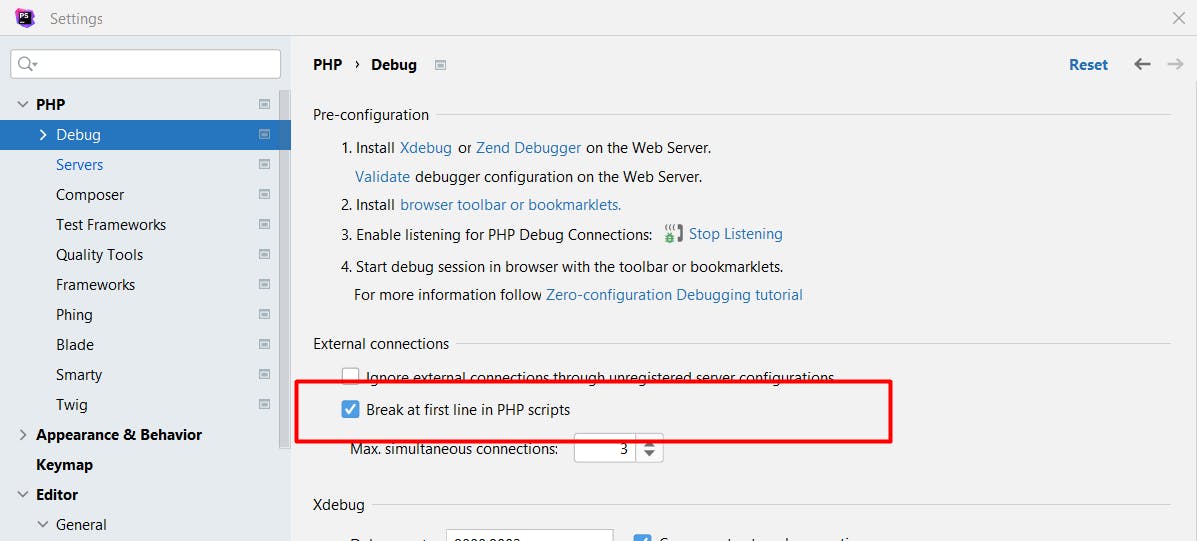
Open the configuration of PHPStrom and add configurations like below
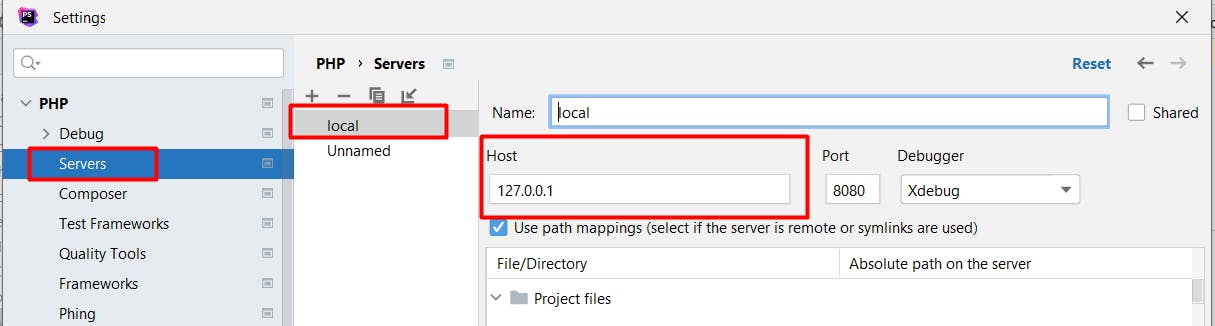
also, checkmark the below option
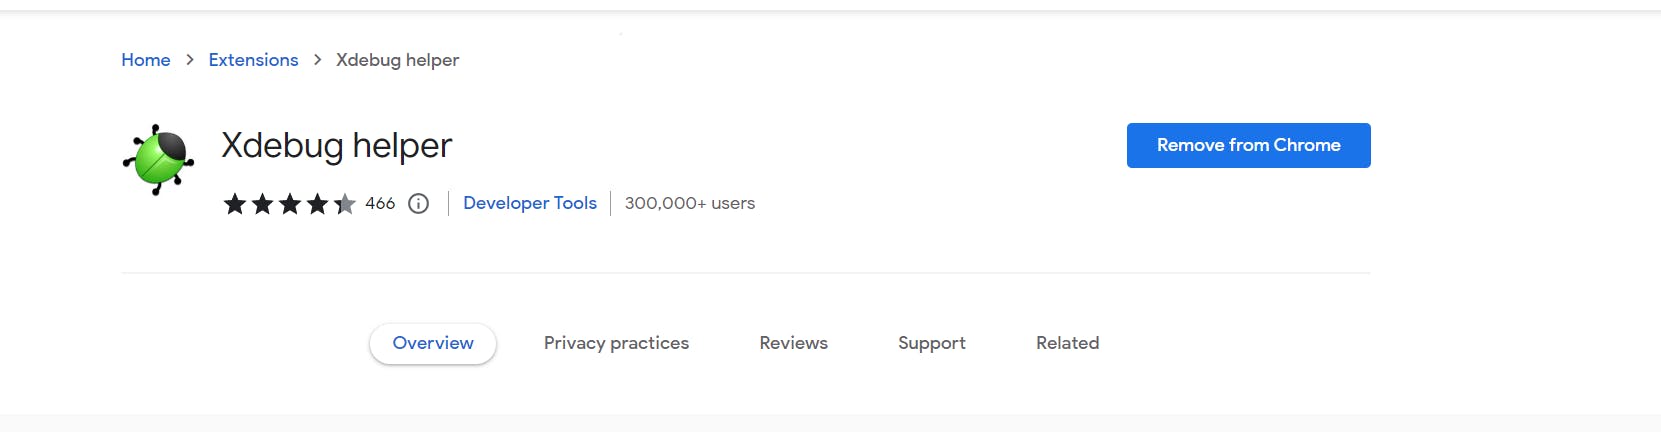
so PHPStrom configuration is done. We just only need to install one Chrome extension
enable the extension
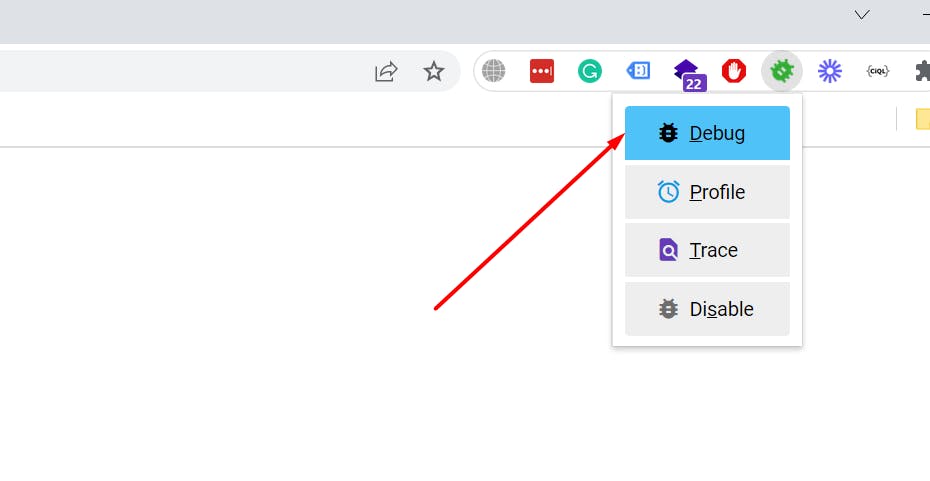 run your PHP script by adding breakpoints, your PHPStrom should be able to detect your request from chrome.
if you got any questions, write the below and I will answer them. Thank you for reading. :)